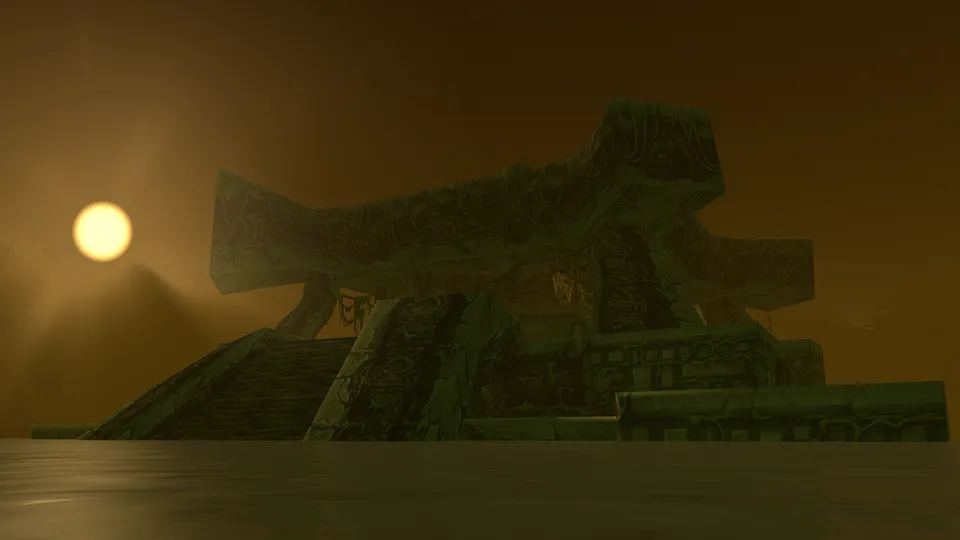
Phase 3 has brought a new 20-man raid in the Sunken Temple where players will need to defeat 8 different bosses for a chance to get some sweet loot and gear as well as prove their might in the face of new challenges. Blizzard has made this raid a bit more mechanically-complex in comparison to the Gnomeregan and Blackfathom Deeps raids so players will have to put in some extra work.
With that being said, we will go over how you can defeat each boss of the Season of Discovery Sunken Temple raid. We will discuss the abilities, strategy, and some helpful tips you can use to ensure that your group smoothly clears without much fuss.
Sunken Temple Raid Guide
Advertisement
Sunken Temple Atal'Alarion Boss Guide

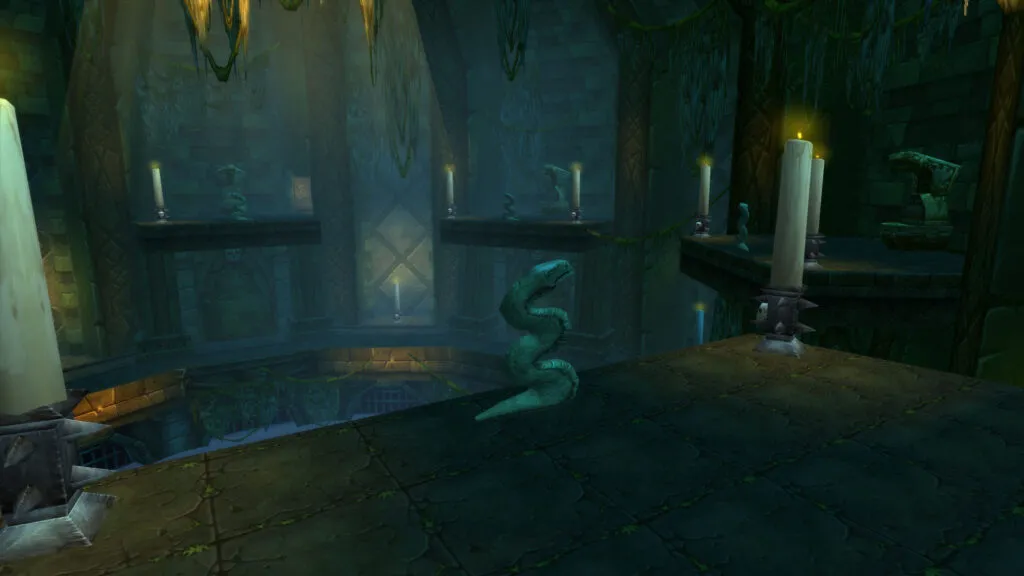
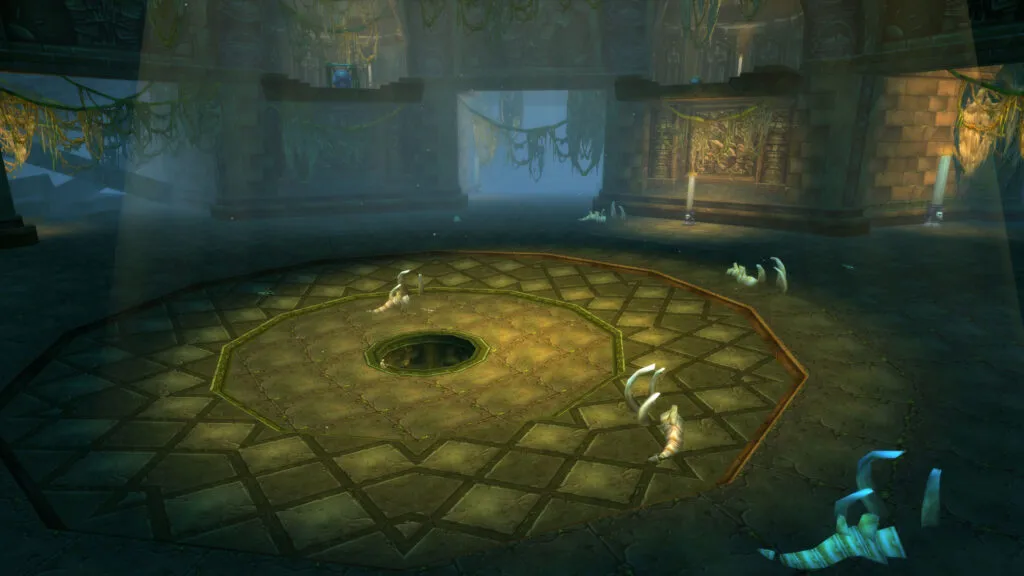
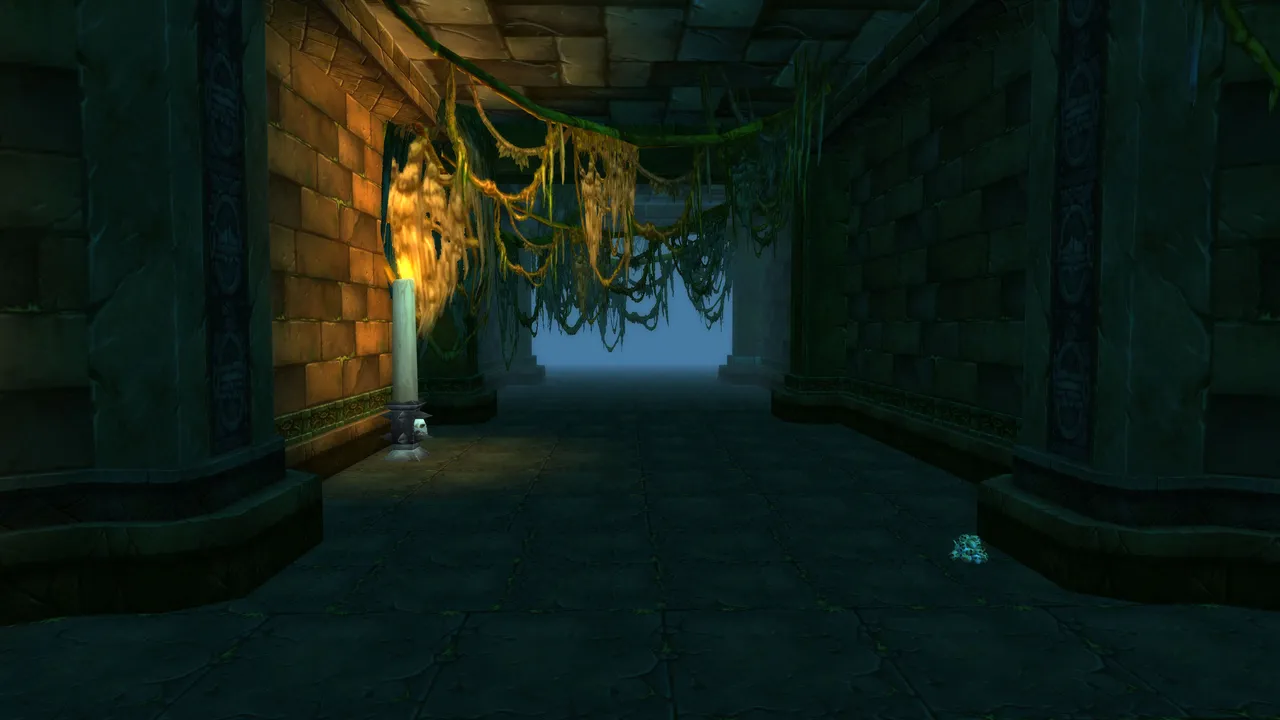
The first boss you encounter in the Sunken Temple raid is very straightforward, however, there are some caveats you need to take into consideration. You will first make sure to clear out the room before engaging the boss.
You will need to activate 6 different statues by using a rope to climb to the top of the chamber where each of the statues is located. You will know once you have activated all of the statues, the boss will stop glowing a bright green color.
For this fight, you can have one person tanking, 4 people healing and the rest can be DPS though some compositions may require more healers as this encounter is very punishing for melee DPS.
Atal'Alarion Abilities
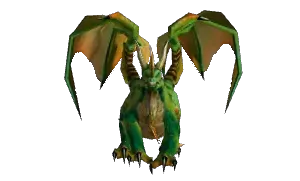
- Pillars of Might: The boss will drop statues from the ceiling that will increase the damage the boss deals by 5% per pillar (Pillars of Might).
- Demolishing Smash: This is a raid-wide AoE ability that deals a lot of damage and knocks you back.
You can destroy the statues by positioning yourself so that you are knocked back toward them. Please keep in mind that Healers will lose sight of you when standing behind a pillar so make sure you are topped up.
Advertisement
Atal'Alarion Tips
This should be a very straightforward encounter without players struggling too much to defeat him. Make sure to save your mobility as even if you collide with a statue, you will continue flying away.
Make sure you are topped off when Atal'Alarion casts Demolishing Smash so if you are healing, try to keep everyone as healthy as possible to avoid wipes.
If you are tanking, make sure to keep your back against the stairs so that you do not have any downtime on your threat generation.
Sunken Temple Festering Rotslime Boss Guide
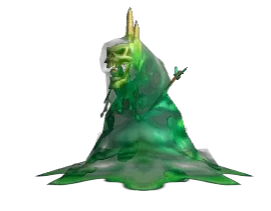
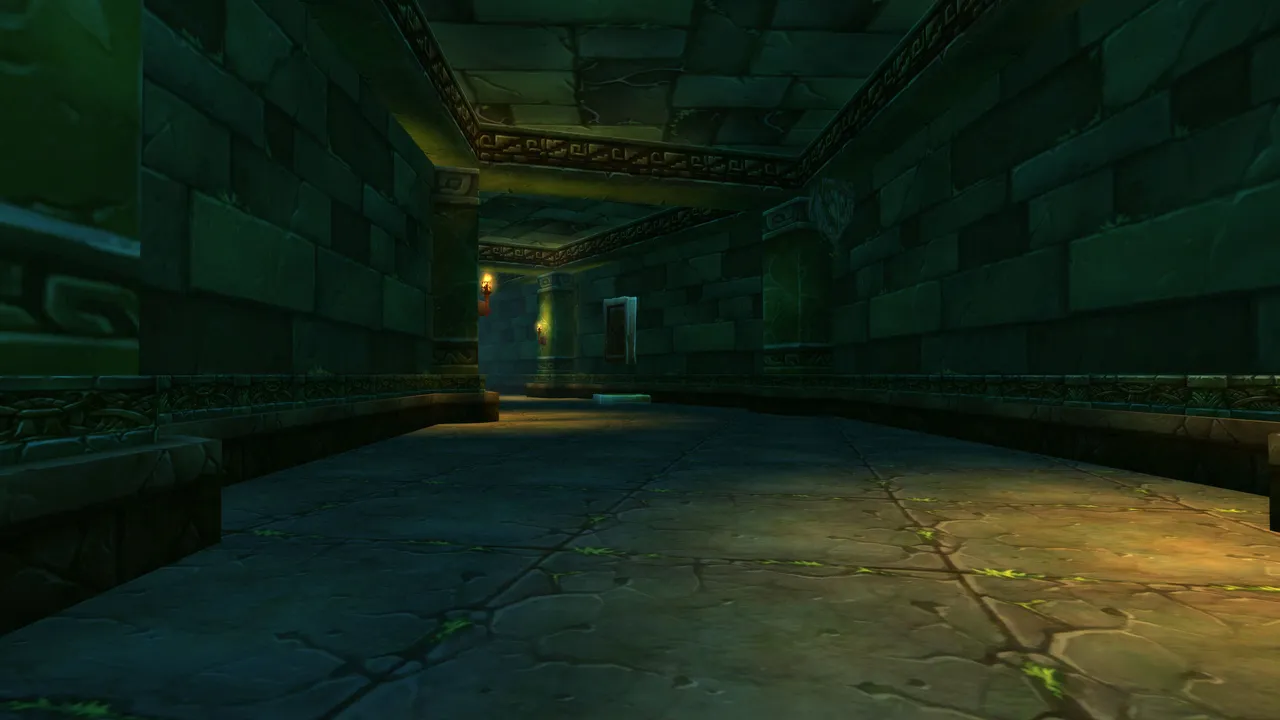
The second boss you encounter in the Sunken Temple raid is quite a big jump from the first one in terms of difficulty. You will fight Festering Rotslime in a circular hallway so you will have very limited place to maneuver and dodge his abilities.
Since the boss room has a lot of limited space, maintaining your distance and making sure that you handle his mechanics perfectly will help you clear him as soon as possible.
For this fight, you can have one person tanking, 5 people healing and the rest can be DPS. Similar to the first boss, Ranged DPS will be preferred over Melee given how much movement this encounter requires.
Festering Rotslime Abilities
- Slime Time: The boss periodically gains movement speed with each stack of Slime Time.
- Nauseos Gas: The boss will periodically fill the hallway with poisonous gas that deals Nature damage and reduces attack and casting speed.
- Gunk: The boss tosses Gunk (Disease) onto the entire raid, dealing tons of Nature damage that ticks every 2 seconds and decreases movement speed for 20 seconds.
- Devour: The boss will eat any object in its path. This will slow it down and remove a stack of Slime Time.
Advertisement
Festering Rotslime Tips
The boss will chase the player with the most threat. He will be very slow at first, but will steadily gain speed. If the boss manages to reach that player or any other raid member that stands too close, the target will be consumed dealing a ton of damage.
If you cleanse Gunk, a toxic pool will spawn beneath the player that does not de-spawn. These pools deal Nature damage so you will need to ensure that you have enough space as you will probably rotate two or three times around the hallway.You can try hugging one side of the hallway and then the other side once going around for the second time.
There are objects spread across the hallway that you can DPS down to place them in the path of the boss, thus removing stacks of Slime Time and lowering the boss' movement speed.
Advertisement
Sunken Temple Atal'ai Defenders Boss Guide

The third boss you encounter in the Sunken Temple raid is not as difficult depending on your raid composition. You will fight 6 different bosses one at a time, however, upon dying a ghost version will spawn that you will need to CC. Once all 6 bosses have been killed, the ghosts will disappear.
For this fight, you will primarily need to interrupt and cleanse debuffs as well as use CC to stop the bosses from becoming threats. Shackle Undead and Freezing Trap will do you wonders. You can manage the fight with one tank, however, if you lack CC, you can opt for 2 tanks, 4 healers, and every kind of DPS available.
Atal'ai Defenders Abilities
- Fervor: Stacking buff that increases Gasher's attack and movement speed. Make sure to remove it ASAP.
- Atal'ai Serpent Totem: Mijan summons a Serpent Totem that should be interrupted and killed always to avoid unnecessary damage.
- There are several more abilities that bosses have, however, most of them are curses you need to dispel or simply damaging abilities you need to interrupt. Make sure to constantly interrupt and CC the bosses.
Advertisement
Atal'ai Defenders Tips
Since you will be slowly building up the amount of enemies you will face during the encounter, it is best to assign roles to every member so every boss has a dedicated player CC-ing them or interrupting.
Sunken Temple Dreamscythe and Weaver Boss Guide
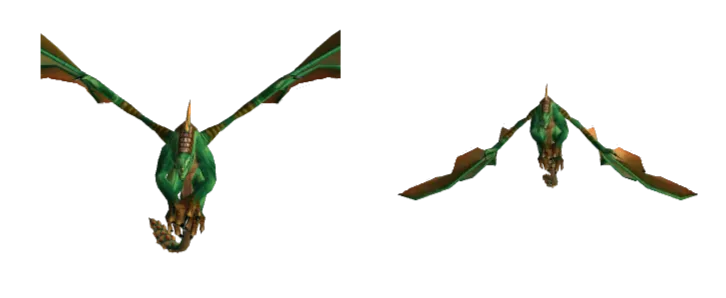
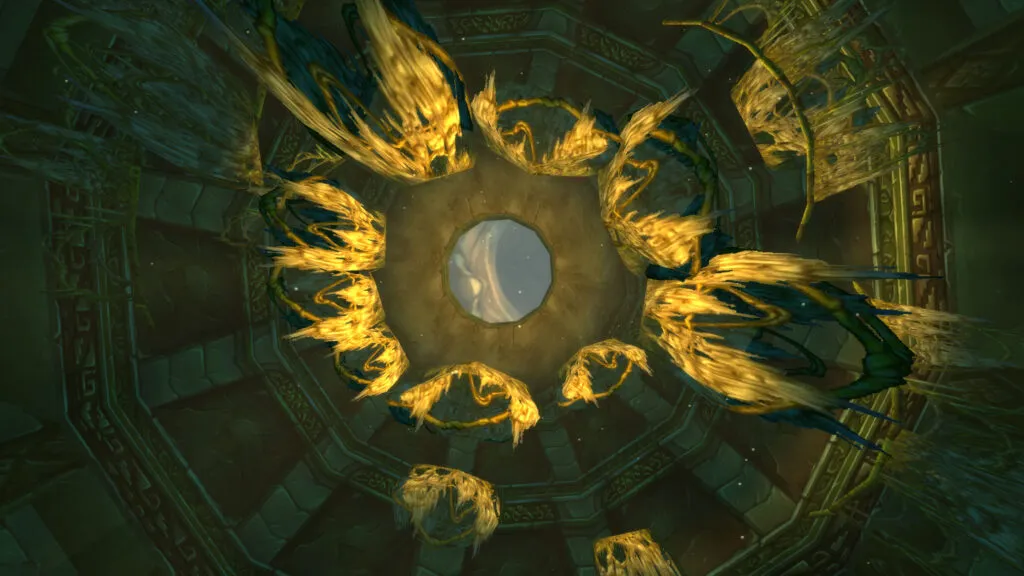
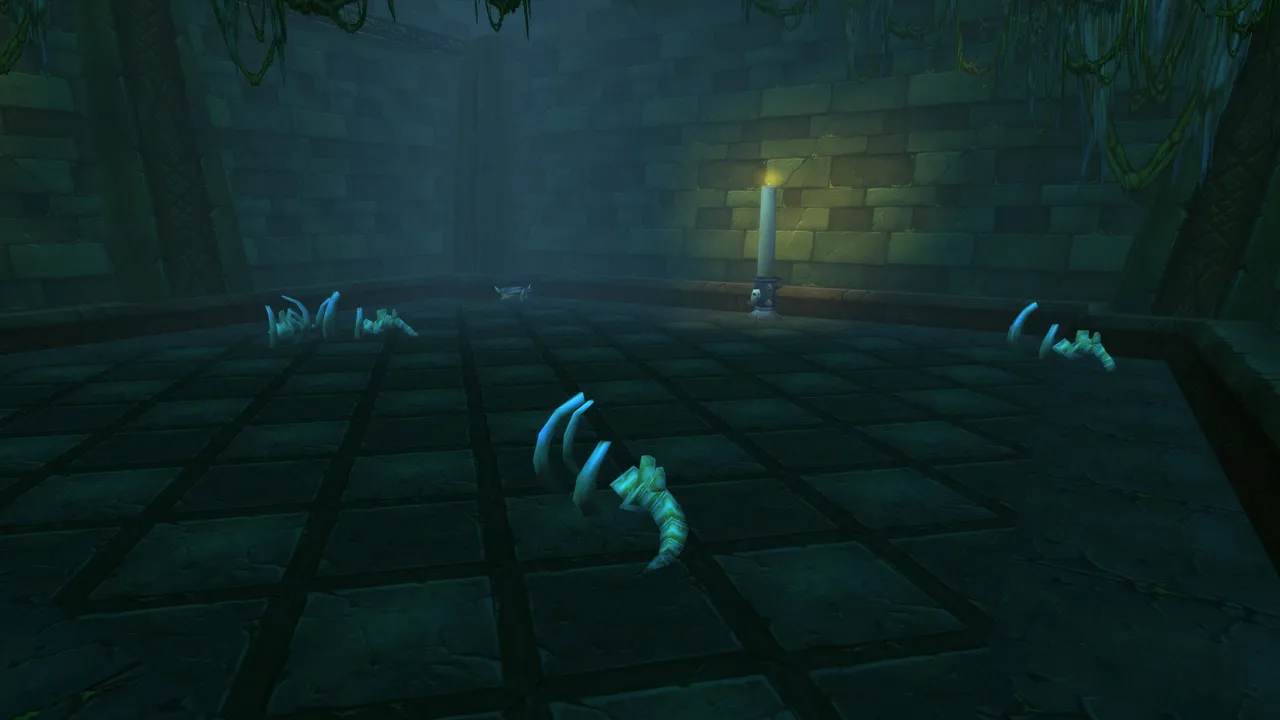
The fourth boss you encounter in the Sunken Temple raid can be tricky at first, but the mechanics are not as difficult to overcome. You will fight Dreamscythe alongside Weaver in an open chamber with a hole in the middle that you can fall into and perish. You will fight only Dreamscythe until he reaches 80% health.
Once Dreamscythe is at 80%, Weaver joins the fight. Please note that both dragons share the same health pool. For this fight, you can have 2-3 tanks, 5 people or more healing and the rest can be DPS. Shadow Priests are great as they can passively heal the raid.
Dreamscythe and Weaver Abilities
- Wing Flap: Both of the dragons knock back targets a short distance.
- Wing Buffet: Both dragons fly to the edge of the chamber and cast a frontal knockback. The closer you are to the dragons, the farther you will be knocked back.
- Delayed Wing Buffet: Weaver simply has a delayed Wing Buffet, with no other major difference.
- Acid Breath: The bosses blast a frontal cone that inflicts the Caustic Overflow DoT.
- Caustic Overflow: Dreamscythe fills the outer rim of the room with poison that has a damaging stacking DoT.
- Emerald Ward: Grants temporary immunity to the bosses that reduces incoming damage.
Advertisement
Dreamscythe and Weaver Tips
This can be quite a tricky fight as you will need to constantly be aware of your positioning to avoid getting pushed into the poison or hole in the middle of the room.
Make sure to keep your distance from the dragons once they start casting their knockback. This will be the main mechanic you will need to watch out for as the fight can be lengthy if your composition does not have enough Ranged DPS.
Tanks should swap every time any of the dragons cast Acid Breath to avoid getting too many stacks at a time. Hunters can use their pets to swap with players as well.
Sunken Temple Jammal’an and Ogom Guide

The fifth boss you encounter in the Sunken Temple raid will consist of avoiding dangerous AoE Holy Novas, dispelling and decursing debuffs, and avoiding getting feared as Melee. There are two phases during the encounter as you will first need to kill Ogom before being able to take down Jammal’an.
During Phase 1, Jammal’an will constantly heal himself, so make sure to target down Ogom. Once taken down, Jammal’an becomes empowered, being able to shield himself and deal tons of AoE damage. You will need two tanks to cover both of the bosses, as well as 5 healers due to the large amount of debuffs that need to be removed.
Ogom Abilities
- Agonizing Weakness: Damaging DoT that needs to be removed ASAP.
- Mortal Lash: Deals heavy Shadow damage and reduces healing by 50%.
Jammal’an Abilities
- Holy Nova: Powerful AoE that needs to be avoided at all times.
- Holy Fire: Deals moderate Holy damage with an annoying DoT.
- Power Word: Shield: Dispell this every time it's up.
- Shadow Sermon: Pain: Moderate Shadow damage.
- Psychic Scream: Melee should be aware of this at all times.
- Mass Penance: Heavy AoE damage. Healers should be alert and keep party members topped up.
- Smite: Moderate Holy damage.
Advertisement
Jammal’an and Ogom Tips
This fight will require Healers to remain vigilant as you will be constantly removing debuffs from raid members as well as topping off everyone to avoid wipes from Mass Penance.
At the beginning of the fight, make sure to pull Jammal’an away from the raid so the DPS can focus on taking down Ogom. Melee should move away as soon as Jammal’an casts Psychic Scream to avoid running into Holy Nova.
Sunken Temple Morphaz and Hazzas Guide

The sixth boss you encounter in the Sunken Temple raid shares some similarities to the Lord Kelris fight in Blackfathom Deeps. There is a physical realm where you face Hazzas and a Dream realm occupied by Morphaz.
You will first face Hazzas and you will be teleported to a dream realm to face Morphaz. Both dragons share the same health pool and you deal 100% increased damage when in the Dream realm fighting Morphaz. You can have one person tanking if you avoid the Dream realm, otherwise have 2 tanks, and at least 4 healers.
Morphaz Abilities
- Eternal Slumber: This is a 30-second channel, and when completed kills everyone in the dream realm. You need to kill enemies to spawn a portal and return to the physical realm.
Hazzas Abilities
- Corrupted Breath: Frontal cone that deals significant Nature damage. Make sure to avoid it at all costs.
- Backfire: Deal severe damage to enemies behind the boss. Make sure to avoid it at all costs.
- Dreamer's Lament: Powerful DoT that cannot be dispelled.
- Animate Flame: At 80% health, Hazzas spawns fire elementals that need to be dealt with ASAP. Upon killing them, a patch of fire will spawn on the ground and if a player is caught inside, they will be prevented from entering the dream realm.
- Lucid Dreaming: Hazzas flies to the center of the room and starts a 20-second channel that will teleport the raid into the Dream realm. This can be prevented by breaking line-of-sight. (It is possible that Blizzard hotfixes this as the entire Dream realm sequence can be skipped.)
Advertisement
Morphaz and Hazzas Tips
To get out of the Dream realm, you will need to kill the Nightmare Vines spread across the room. This will open a portal and allow 1 person per portal to return to the physical realm. Morphaz only channels Eternal Slumber during this phase so you can send DPS to nuke the boss down and return to the physical realm.
At 30% health, Hazzas will channel Lucid Dreaming once more so it will be a race against the clock to defeat the boss given the 100% damage increase once you are sent into the Dream realm. Once again, you can avoid the mechanic by breaking line-of-sight if Blizzard does not hotfix this.
Tanks should swap between Corrupted Breath casts as the ability also applies a stacking DoT.
Sunken Temple Shade of Eranikus Guide
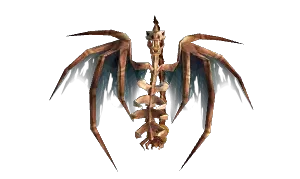
The final boss you encounter in the Sunken Temple raid is by far the toughest fight in the entire raid. The boss is separated into 4 phases, transitioning at 70%, 40%, and 10% health. You will need at least 2 tanks, 4 healers, and any cleave damage DPS will be of great help.
Phase 1
Make sure to take care and pay attention to the boss' casts. We have provided all of the important abilities you need to keep track of below.
Phase 2
Once at 70%, the boss will go into a nap, take reduced damage, and spawn two Lumbering Dreamwalker that can be interrupted as they cast Deep Slumber. Make sure to also dispel Lethargic Poison. During the second phase, 6 Nightmare Whelpling will spawn that you need to deal with every 10 seconds or so. No additional abilities will appear during this time.
Phase 3
The boss will once again go into a deep slumber and spawn two Lumbering Dreamwalker. The boss will now spawn 3 Nightmare Whelpling instead of 6, and two Nightmare Scalebane that cast Acid Rain. Make sure to interrupt them and nuke them down ASAP.
Phase 4
At 10% health, the boss will continue to spawn adds, but your main priority will be nuking Eranikus down to avoid getting overwhelmed.
Shade of Eranikus Abilities
- Tail Sweep: A strong cleave that knocks back targets standing behind the boss.
- Bellowing Roar: AoE fear that needs to be interrupted every time.
- Lethargic Poison: The boss spits at 5 random players, applying a Nature damage DoT, reducing hit chance and doubling mana cost.
- Corrosive Breath: Deals heavy Nature damage to the current target and reduces armor by 100% for 12 seconds.
- Deep Slumber: Clouds will spawn in the chamber, putting players standing in them to sleep for 20 seconds and reducing incoming damage by 99%.
- Waking Nightmare: Powerful raid-wide blast that kills everyone.
- Acid Rain: During Phase 3, the boss will cause acid rain to fall from the ceiling, make sure to avoid the pulsating circle as it deals heavy Nature damage.
Advertisement
Shade of Eranikus Tips
Ranged can stack together so your raid can more predictably create clouds for Deep Slumber that help you survive Waking Nightmare. Melee should always stand next to the boss to avoid creating clouds that can jeopardize the run.
Make sure to never stand behind or in front of the boss as DPS. There is no enrage timer so you can focus down adds and interrupt when applicable.
Upon transitioning to different phases, the boss continues channeling the spell in the previous phase, meaning there is a chance that you will need to immediately run back to a cloud to avoid getting wiped.
Advertisement
Sunken Temple Avatar of Hakkar Guide
The final boss you encounter in the Sunken Temple raid is not as difficult as Shade of Eranikus, however, you will still need to pay attention to some important mechanics. You will need 1 tank, preferably 2, 4 healers, and any kind of DPS.
Phase 1
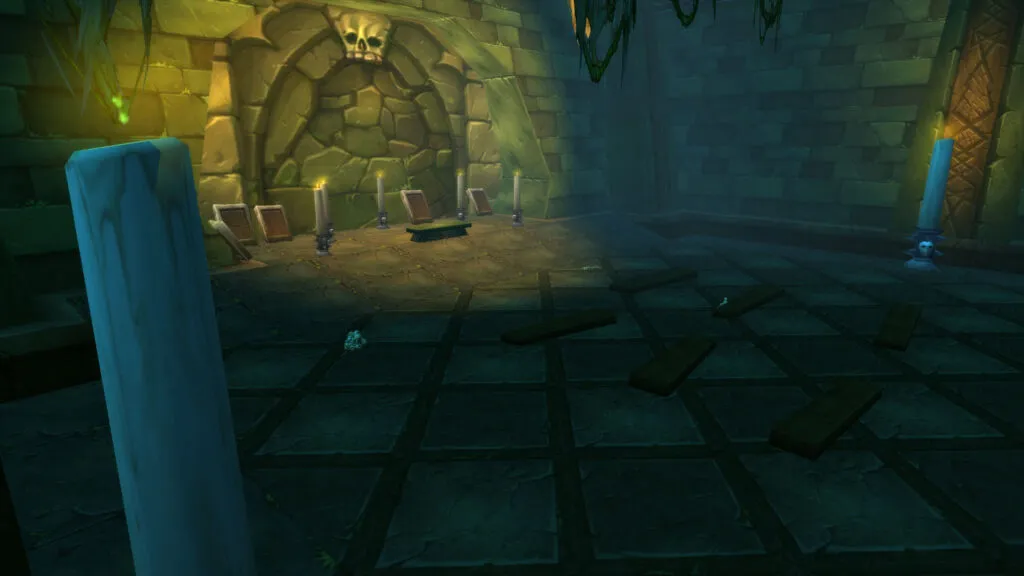
To spawn the boss, you will first need to kill the four ritualists before you can engage the Hakkari Bloodkeeper. Once the Bloodkeeper reaches 100% mana, the Avatar of Hakkar will spawn.
Phase 2
The Hakkari Bloodkeeper will despawn so you will only have to deal with the Avatar of Hakkar. This fight does not have too many intricate mechanics, you will primarily need to deal with some annoying abilities but it should be pretty straightforward.
Hakkari Bloodkeeper Abilities
- Frightsome Howl: AoE fear that needs to be interrupted.
- Spirit Chains: Targets Melee so make sure to get out of the group as the dispel spreads to other members.
- Bubbling Blood: Creates a blood puddle on the ground that deals damage.
Avatar of Hakkar Abilities
- Corrupted Blood: The boss will mark two players with a Shadow damage DoT that can spread to other party members.
- Drain Blood: Frontal cone that deals damage and removes Corrupted Blood. You will also receive the Skeletal debuff that prevents you from getting healed.
- Spirit Chains: Targets Melee so make sure to get out of the group as the dispel spreads to other members.
- Blood Nova: Raid-wide AoE that cannot be interrupted.
- Insanity: Makes the targeted player hostile to your group but you can still control your character.
- Curse of Tongues: AoE curse that reduces casting speed by 50%. Can be interrupted.
Avatar of Hakkar Tips
Make sure to get away from the group stacks when targeted by Corrupted Blood as you will need to quickly cleanse it. Should your entire group get hit, you can still survive until you can cleanse the debuff, however, the healers will need to spend a lot of resources.
Make sure to preserve your mana when fighting the Hakkari Bloodkeeper as you will not need to kill it to get to the main fight.
And that is everything you need to know about defeating all of the bosses of the Sunken Temple Raid in Season of Discovery Phase 3. Best of luck, Champions of Azeroth, and may the RNG Gods be ever in your favor!
Advertisement