GTA 6 Wanted Level & Heat System Explained: Losing the Cops
Here's how the GTA 6 wanted level and heat icons work, how your criminal profile changes police behaviour, and the fastest ways to lose a four-star chase.
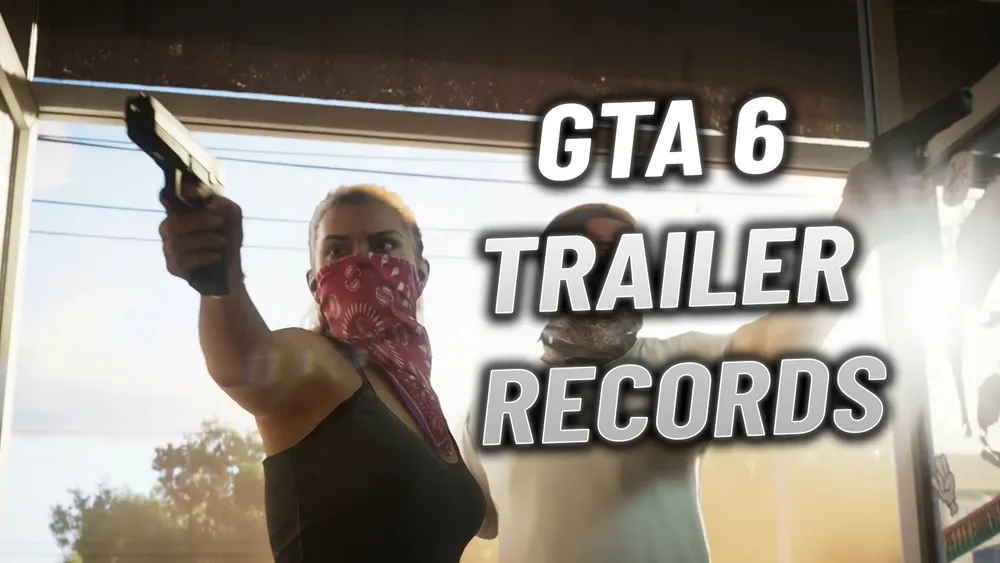
The police in GTA 6 do more than count stars. A chase in Leonida moves through distinct states, from a crime being reported to the cops knowing exactly who you are, and even after you've shaken them a lingering "heat" phase keeps them sniffing around the area. On top of that, the game tracks what the police recognise about you, your car, your outfit and your partner, and a separate criminal profile decides how trigger-happy they are the next time they see you.
Below we break down every wanted and heat icon in GTA 6, how your criminal profile changes police behaviour, and the escape routes trophy hunters use to lose a four-star chase.
Wanted Level Icons Explained
GTABase's icon glossary lists six wanted states. The important split is between the flashing pursuit, when the police are actively on you, and heat, when you've lost them but the area is still hot.
- Cops Responding: someone reported a crime and police are heading your way.
- Suspect Unknown: the cops are searching but don't yet know who they're looking for.
- In Pursuit: they can see you and they know who you are.
- Visual Lost: you've broken line of sight, but the search is still on.
- Heat: you've lost the cops entirely, yet they're still combing the area.
- Heat & Suspect Unknown: the area is hot, but nobody has a description of you.
The player arrow on the minimap backs this up with two states, Hidden, meaning the cops can't see you, and Location known. PowerPyx describes the two zones the same way: the immediate search area flashes blue and red, and the wider heat zone is drawn in red. For the Hot Together trophy, the game only counts the escape once you leave that outer red zone, not when you slip out of the flashing search area.
Heat and Recognition: What the Cops Remember
The heat phase is driven by recognition. Each heat icon tells you what gave you away and, by extension, what to change before you go back out:
| Icon | What it means | How to clear it |
|---|---|---|
| Appearance recognized | They have your look | Change accessories or your hairstyle |
| Vehicle recognized | They know your car | Respray it at a Pay 'n' Spray or switch rides |
| Outfit recognized | They know your clothes | Change outfit at a safehouse or changing room |
| Visible weapon | You're walking around armed | Holster or stow the weapon |
| Partner recognized | Your partner was identified | Split up |
| Recorded by CCTV | A camera caught the crime | Destroy the footage on site |
| Recorded by cloud CCTV | Footage is off-site | It can't be destroyed, and an alarm will sound |
CCTV cameras are marked on the map for a reason: they record crimes, and the police use the footage to put a name to you. Cars matter too. A stolen vehicle with an advanced tracker reports your position to the cops unless you keep your speed up, which is one more argument for registering your own car at a Pay 'n' Spray.
Getting caught has a cost beyond the chase: pocket cash is lost if you're wasted or busted, and the car you were driving ends up in the impound, though a registered personal vehicle is always recoverable.
Criminal Profile and How Police Treat You
Separate from the wanted level sits your criminal profile, and PowerPyx is blunt about what it does: it only affects how the police treat you. The lower it drops, the more likely officers are to open fire on sight. The tiers run from Professional, for clean and controlled crimes, through Hardened and Violent, to Psycho, which you earn by killing large numbers of cops and civilians or by driving over gravestones. A Breaking point icon is your last warning before Irredeemable, which is permanent.
You can finish everything in the game with a Violent profile, but Irredeemable is worth avoiding because the cops stay more aggressive for good. If you want to see what's moving the needle, turn on the notification under Settings, UI, HUD Notifications, Criminal Profile: a small demon face appears on the right of the screen whenever an action counts. Stealthy robberies, destroyed evidence and clean escapes push you toward Professional.
How to Lose a Four-Star Wanted Level
Bank vault jobs, unlocked by the optional Chapter 4 mission That's Where The Money Is…, hand you a four-star wanted level every time, so you'll want a reliable escape plan before chasing the $205,000 a single vault can pay. PowerPyx's advice:
- Grab a quick sports bike and weave through traffic until you're clear of the search area.
- If a helicopter is on you, shoot at it until it gives up and leaves.
- Head for the railway tunnel north of Ambrosia, in Kelly County: police struggle to follow along the tracks and the helicopter loses sight of you inside.
- Keep driving until the red heat zone is behind you. Leaving the flashing search area isn't enough to end the chase.
Doing this with your partner alongside you, which you can do once the Chapter 2 mission Coffee Break lets Jason and Lucia free-roam together, unlocks the Hot Together trophy. The flip side is the Retail Therapy trophy, which asks you to hold a wanted level rather than lose it: rob three shops back to back with your partner while the police chase you the whole time. PowerPyx suggests the three jewelry stores in the north of Vice City once Yasmani's Jewelry Jobs is done in Chapter 3, with an armored vest and Sticky Bombs for the back-room safes.
That's the wanted system in GTA 6. Plan your getaway car and route with the regions of Leonida in mind, stock up using our weapons and Ammu-Nation guide, and if a chase costs you, the early money guide will help you rebuild your pocket cash.